3 Crafts Of The Seasons Of The Year
One of the ways in which the passage of time becomes evident is with changes in the environment and natural elements, something that can be reflected in different models of crafts of the seasons of the year. A creative task for the little ones that, in addition, helps them learn to locate themselves temporarily.
What should be represented with the crafts of the seasons of the year?
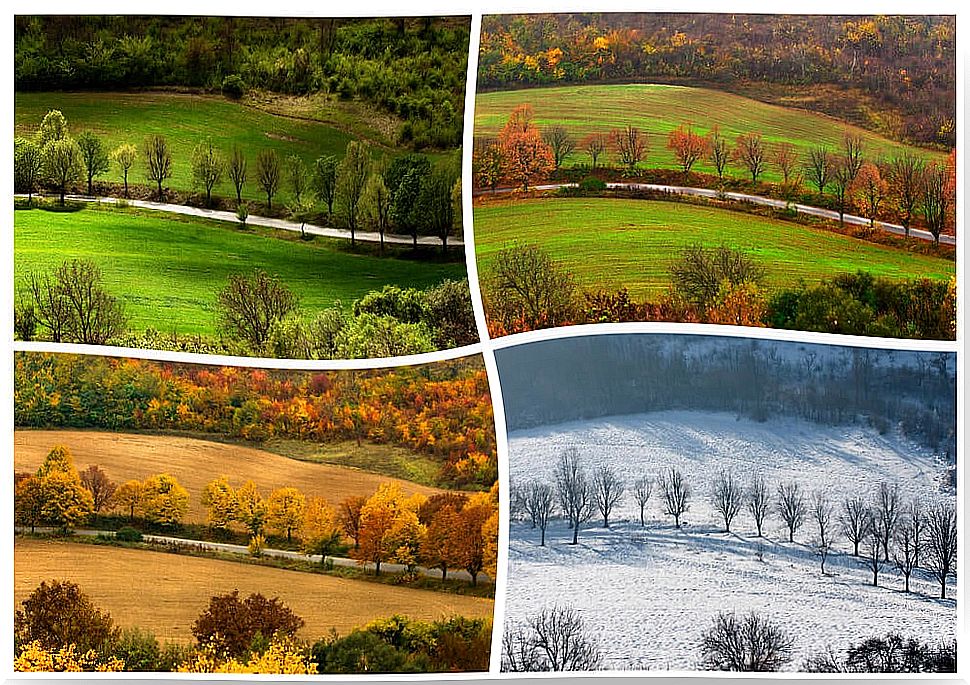
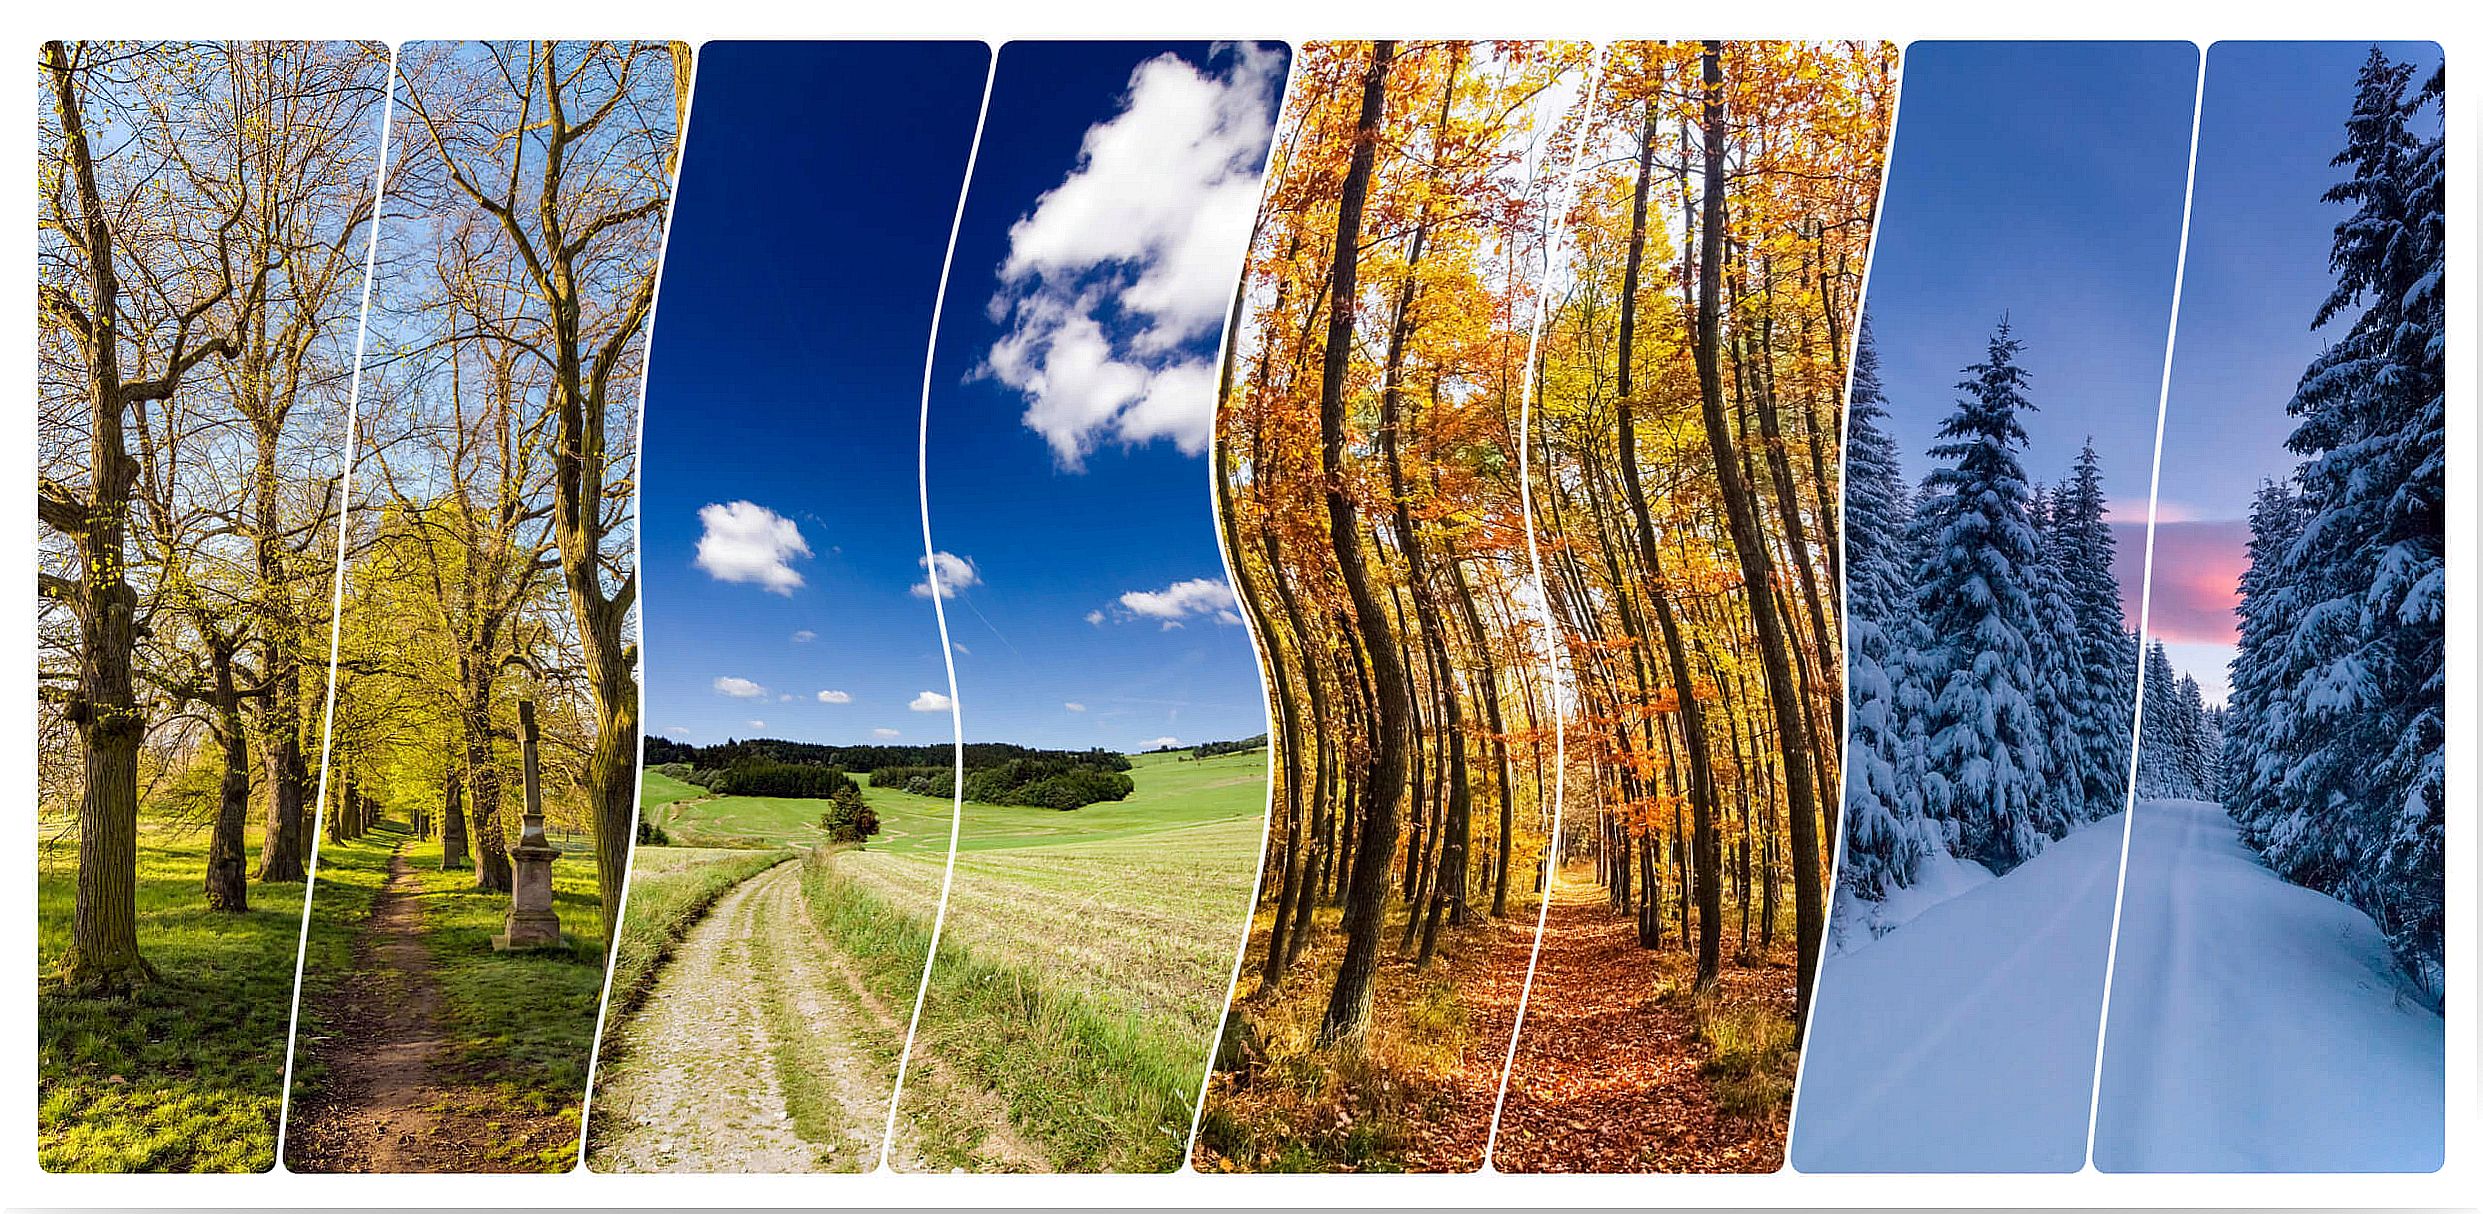
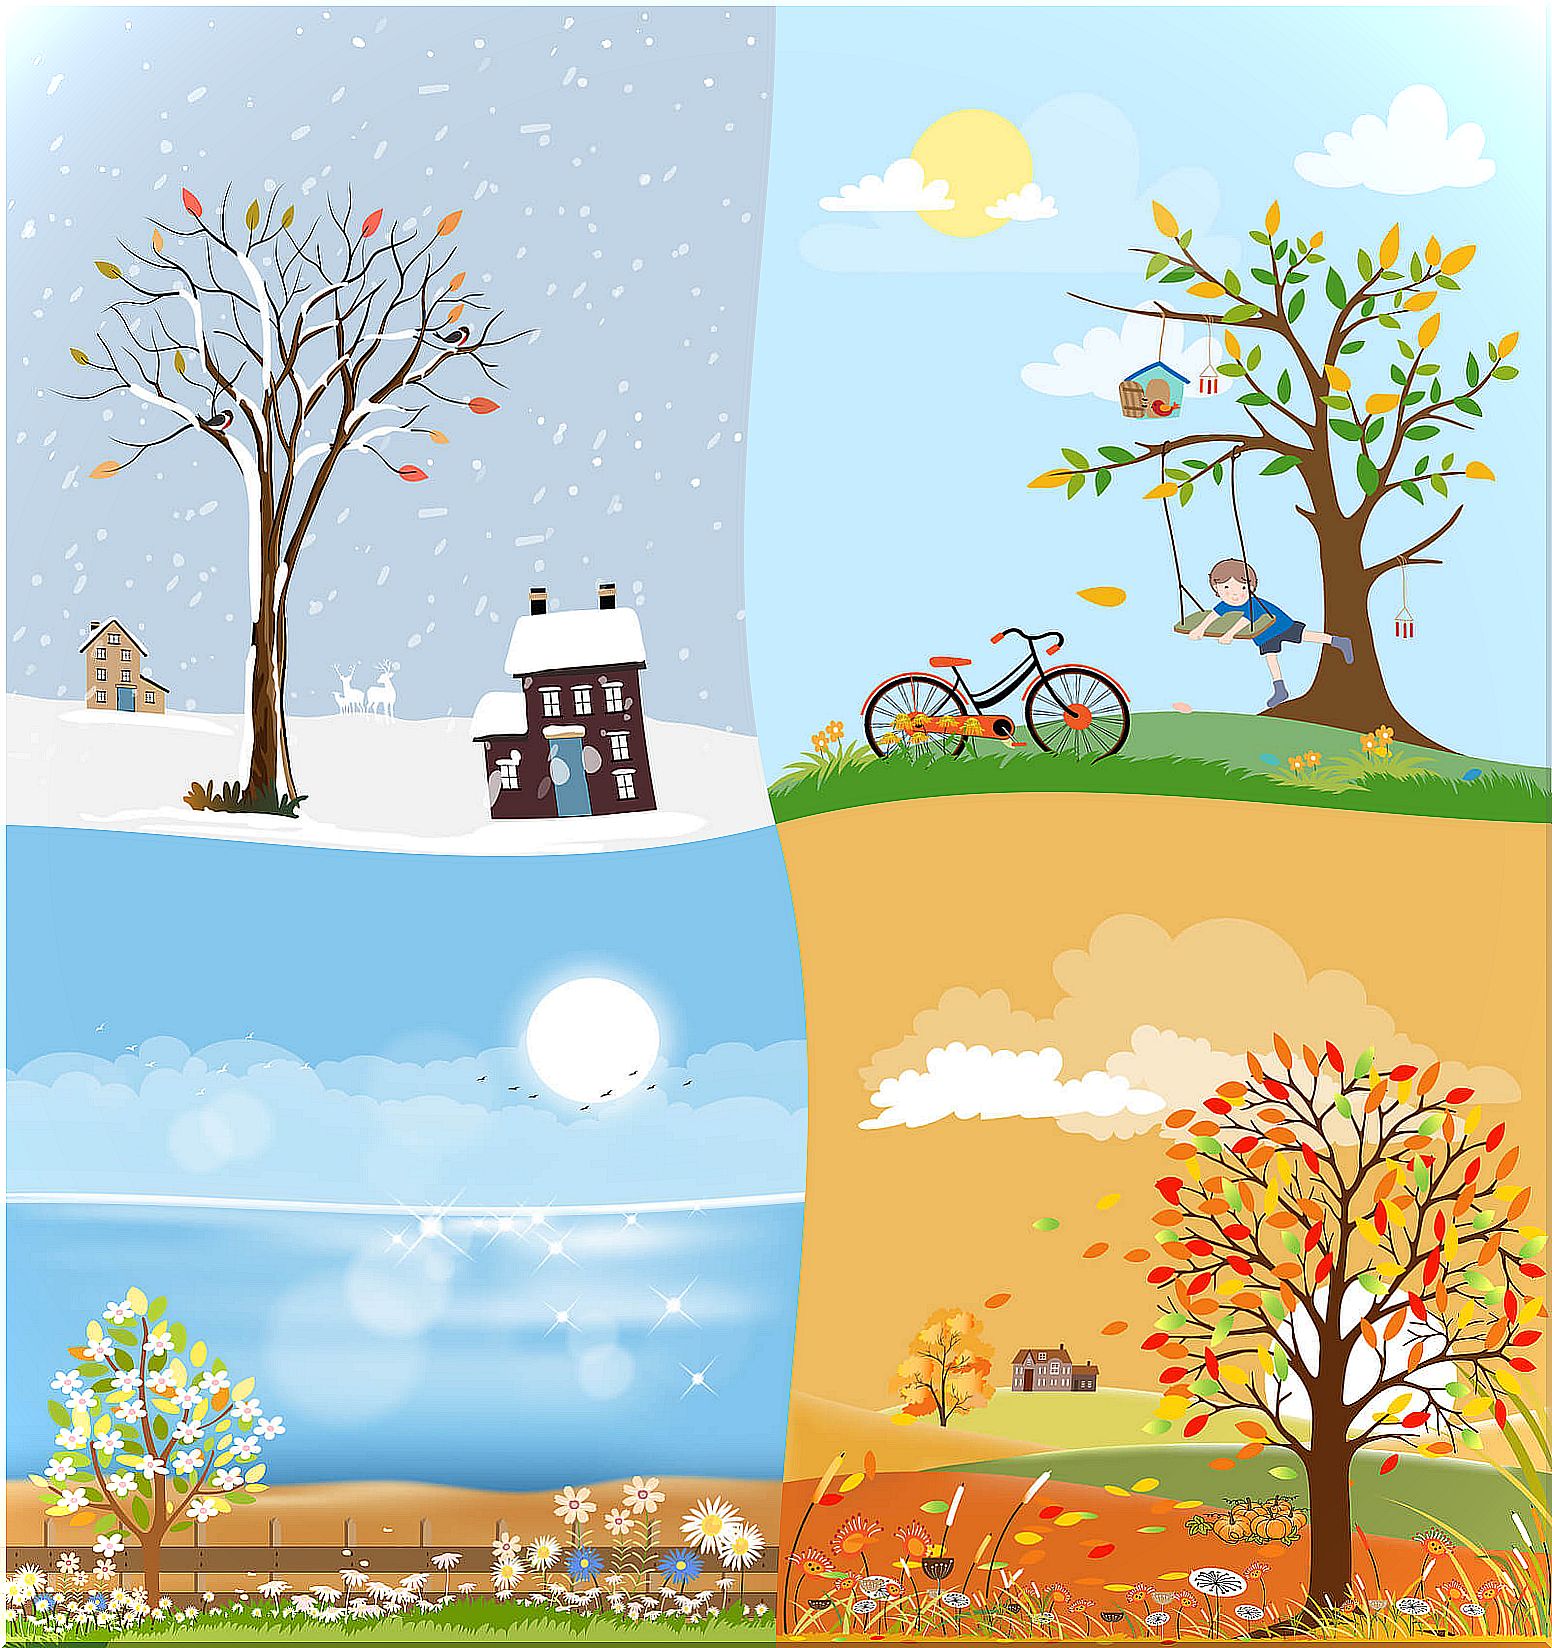
The 4 seasons of the year are different and each one has distinctive characteristics that can be used to create the handmade composition. Some of the things that can be used to represent the different times of the year are as follows:
- Summer : heat, sun, long days, beach, fruits.
- Autumn : wind, brown leaves, clouds.
- Winter : snow, cold, short days, leafless trees.
- Spring : flowers, green trees, bees, birds singing.
This is a base, but you can add other themes. Next, we share with you 3 simple and very easy crafts of the seasons of the year, in which you can apply these suggestions and everything you can think of.
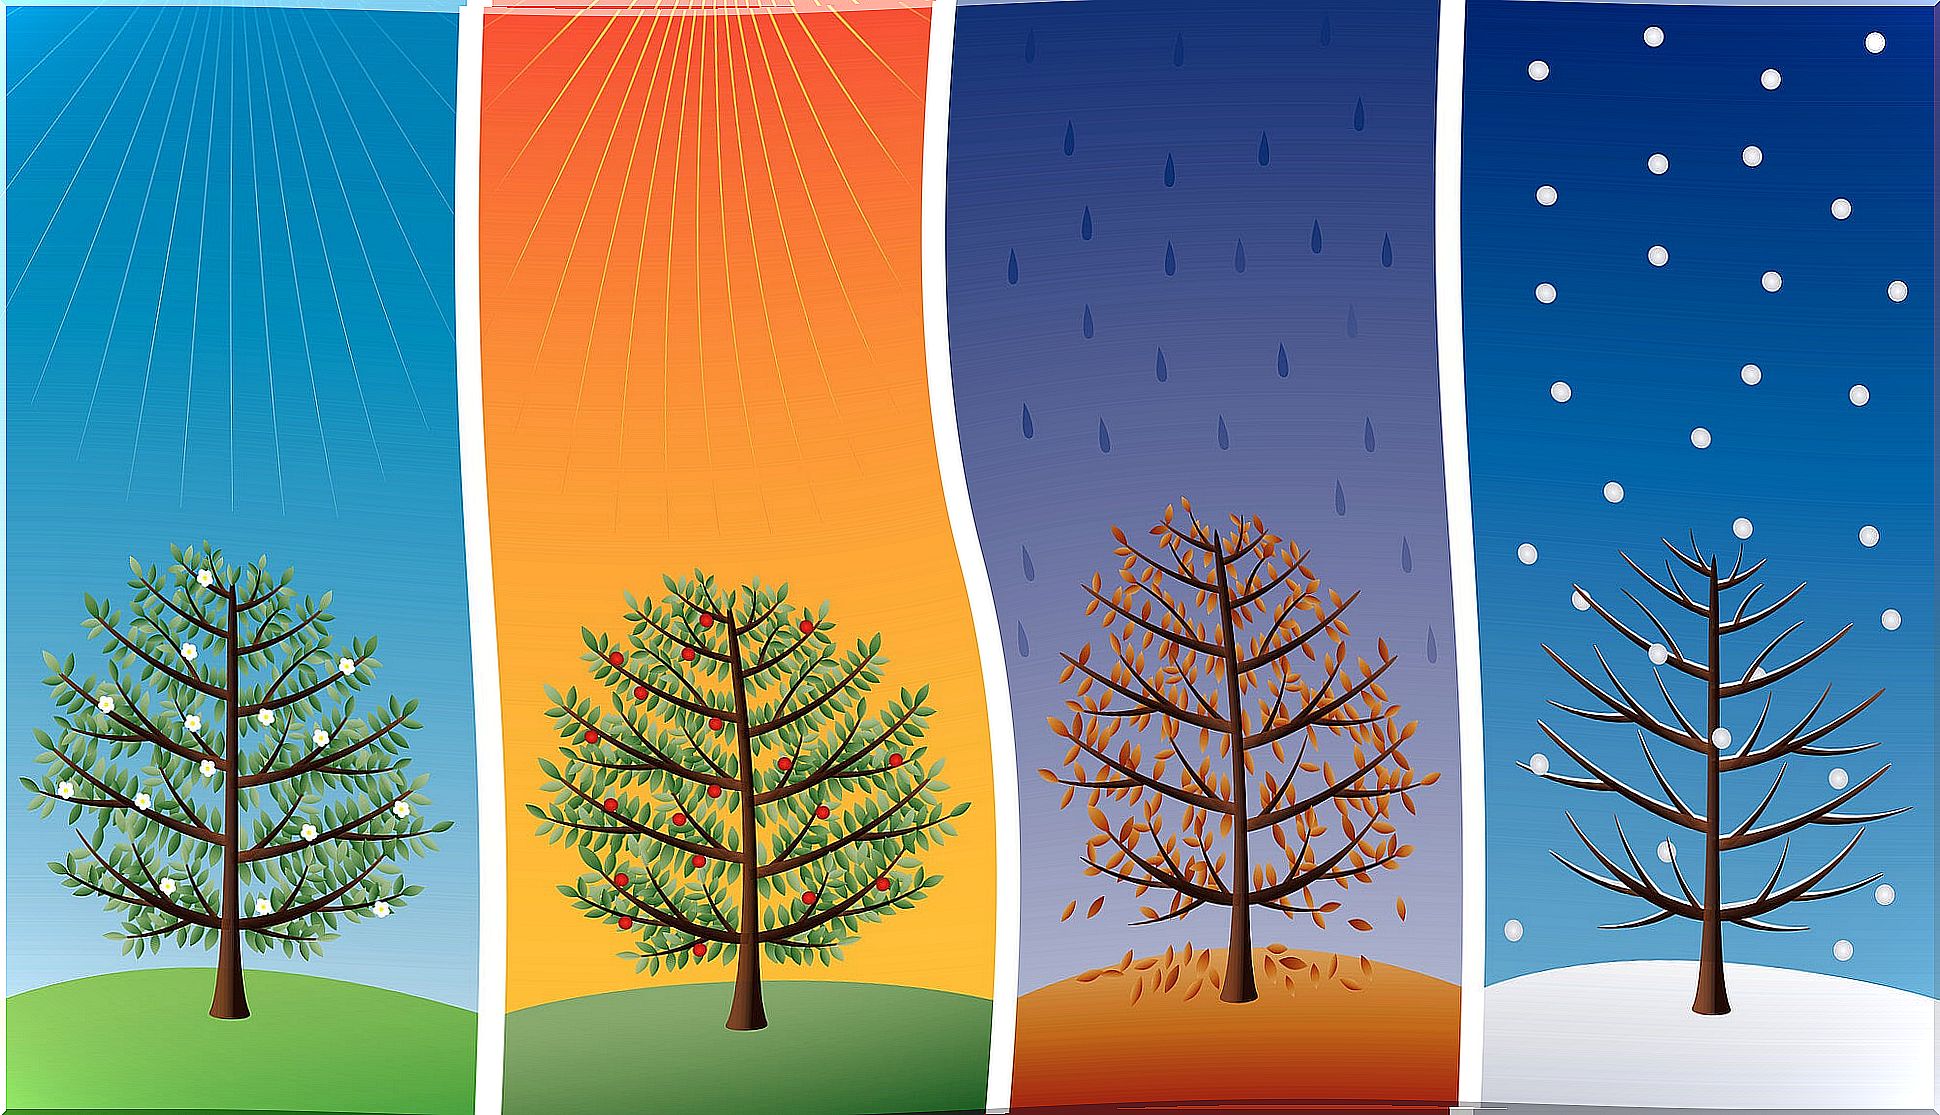
Seasons tree
A DIY craft ( ‘do it yourself’ or ‘do it yourself’) very useful to explain the passing of the seasons. The materials you need are the following:
- Cardboards.
- Colored pencils.
- Glue.
- Scissors.
- Colored paper napkins.
Step by Step:
- Draw four equal trees on the cardboard.
- Paint the trees in different colors: it can be blue or gray for winter, green for spring, red or yellow for summer, and brown or orange for fall.
- Cut the shape of the trees.
- Mark a center line across the trunk to the crown and fold the cardboard.
- Glue the trees on the wrong side, matching the middle line and the middle of the leaf of each one. You will have a tree model with four faces.
- Decorate each with pieces of paper napkins representing fruits, flowers, snowflakes, branches, leaves, etc.
- The finished model is a standing tree with one face for each station. It is a good idea to stick it on a cardboard and on it write the name of the station in the corresponding place.
Game of the 4 seasons
To build this game you need the following materials:
- 16 flat and clear stones, of which you find on the beach.
- Black pencil.
- Eraser.
- Colored markers.
- Black marker.
- Acrylic varnish.
- Rule.
- White cardboard.
Step by Step:
- Wash the stones well.
- Divide the stones into 4 groups of 4, one for each station.
- Draw something representative of each one with a pencil. For example, for the 4 stones of spring, draw flowers, a rainbow, a butterfly, a singing bird.
- Outline the drawings with a black marker.
- Paint the stones with clear acrylic varnish to make the drawings last longer.
- Cut a square of cardboard measuring 50 x 50 centimeters and then mark with a marker in the middle, both horizontally and vertically, so that you have 4 equal squares.
- Paint each space with a color that corresponds to the season and write the name: SPRING-SUMMER-AUTUMN-WINTER.
How to play? Place the stones around the board and have the children place them in the corresponding places. It is an ideal way for them to understand the differences between the seasons of the year.
Table of the 4 seasons
To hang in the classroom or children’s room, this craft is great for unleashing children’s creativity and artistic side. To carry it out, you need the following materials:
- A cardboard sheet.
- White and colored cardboard.
- Black pencil.
- Tempera, markers, colored pencils.
- Tail.
- Pair of scissors.
- Extras: cotton, beads, etc.
Step by Step:
- Cut a cardboard into a square shape the size of the square you want to make.
- Divide into 4 equal squares; each one will be for a season.
- Cut 4 white cards to the size of each of those spaces.
- On the white cardboard, draw, color or glue various distinctive elements of each season to form a collage of images. Inspiration is free!
- Glue the 4 cards onto the cardboard in the appropriate order.
- It is fantastic when you add elements in relief to the drawings, such as strips of paper representing the rain or cotton balls like snowflakes, even flower petals or twigs.
Combining science and art in the crafts of the seasons of the year
The integration of the contents is part of the future of education and with the crafts of the seasons of the year you will be taking a step in that direction. You will be combining do it yourself and its “maker” culture with concepts of science that are basic, but important for the integral education of children.