How To Teach A Child To Cut?
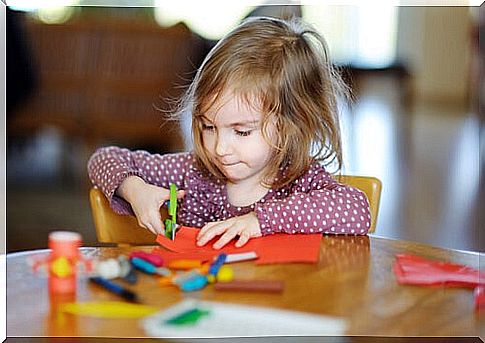
Teaching a child to trim is an exciting process that contributes to the development of fine motor skills. The main objective of this activity is for your child to develop movements that allow him to have better coordination of the fingers, hands and eyes.
In addition, the action of cutting strengthens the muscles of the hand and stimulates the skills that prepare the child to handle other utensils in the future. Examples of this can be a pencil, a button, or a knife.
Also, clipping promotes hand-eye coordination. Children’s vision allows them to recognize the shape and orientation of the piece and then turn it by hand.
On the other hand, clipping requires asymmetrical and synchronized coordination with both hands. The child uses one hand to hold the scissors and the other to hold the support to be trimmed.
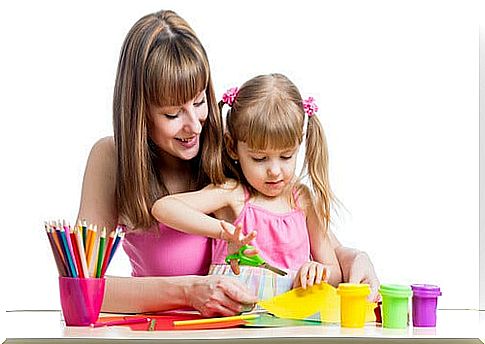
As a mother, you must be patient and help him in his learning. Your child will need time to learn to use scissors correctly.
4 tips to teach a child to trim
To make the task less expensive, there are a few tricks that help you become proficient with scissors as easily as possible. Next, we put at your disposal 4 tips to teach a child to cut.
1.- Choose the right scissors
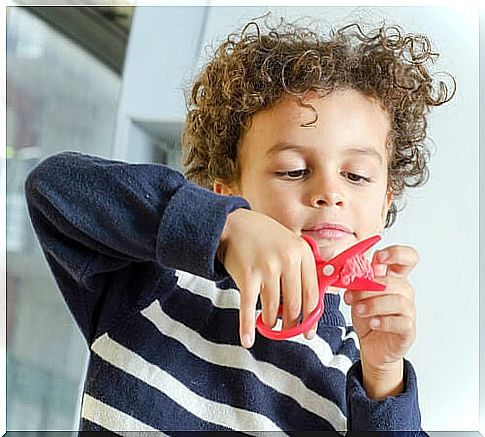
It is important that your child uses scissors suitable for their little hands. You should choose simple scissors, which have the right plastic blades to cut only the paper and with round tips to ensure safety.
If the child does not have the hand size to open and close the scissors by hand, it means that he is too young to begin this type of learning. If the child is left-handed and cuts with right-handed scissors, he will not see the line to cut, which will make the act more complex.
Therefore, you should think of suitable scissors for your child to start in this exciting world.
2.- Learn to open and close scissors
The first thing your child must understand when using the scissors for the first time is their manipulation: to open and close with one hand. Initially, this gesture will be difficult for the little one and may start using both hands.
You can try some exercises so that your child can get used to his first scissors and the opening and closing movements. A good start would be to just practice with your hands and then yes, add this tool.
3.- Develop precision
Once your child is comfortable with the scissors and masters the basic movements, they can begin to develop their precision through simple activities. A good example is placing a sticker in the middle of a sheet of paper and having the little one slide his scissors towards it.
You can also draw a line on a piece of paper and ask your child to cut along it. You should gradually increase the width of the line and the difficulty of the exercise according to your ease of handling the scissors. Try to put simple precision exercises at the beginning in order to motivate their learning process.
4.- Development of control
When your child can cut straight lines and has more control of the scissors, it means that he is ready to cut various shapes. For example, you can draw squares, rectangles, and circles on a piece of paper.
You may have particular difficulty with circles at first, as you will have trouble cutting back by changing direction. If she’s having trouble with triangles, you can show her how to stop at the corners and then turn the blade so she can keep cutting.
Once your little one has more control of the scissors, they can easily move to the contours of objects and the silhouettes of their favorite characters.
Finally, it is very important that, when teaching a child to trim, you allow him to experiment individually. Although on occasion he may suffer a minor cut, you must allow him to improve his ability through experience.